Trimming your bird’s nails might be the most nerve-racking part of owning this pet, especially when it’s your first time. Of course, your vet is always there to help and will give you personalized tips for your particular animal. Additionally, we recommend you leave beak trimming to the pros — a slip could cause your bird to lose more blood than he can survive. But the toes are a bit easier, and with a solid checklist, you’ll be able to handle it no problem. Here’s how to trim bird nails in six easy steps.

Set up your salon
Always get everything ready before you take your bird out of his cage. You will need:
- Two towels
- Nail clippers or file
- Trash can
- Clotting powder
- Flashlight
- Treats
Spread one towel out over your workstation and set all your tools within easy reach. While human clippers work just fine for many birds, you can also purchase specially made bird nail trimmers.
Most importantly, have a powder ready to go in case you nick your bird, which can happen even if you’re super careful. Household items such as cornstarch will suffice, but for best results, grab some styptic powder.
Prep your bird
We know he’s probably gonna freak out a bit when you start the grooming process. Try to ease him into it by handling your bird frequently and getting him used to being wrapped up in the towel. You can certainly practice this in advance without bringing out the dreaded clippers.
Hold him carefully
It can help to have another person assist with the process, but your bird will also do a lot of the work. Swaddle him gently with the towel (not too tight) and allow him to grasp your hand, even if you have to wait a while. The towel will both give you a better grip and act as a security blanket, protecting your gentle bird. Give him some time to adjust before diving into the process.
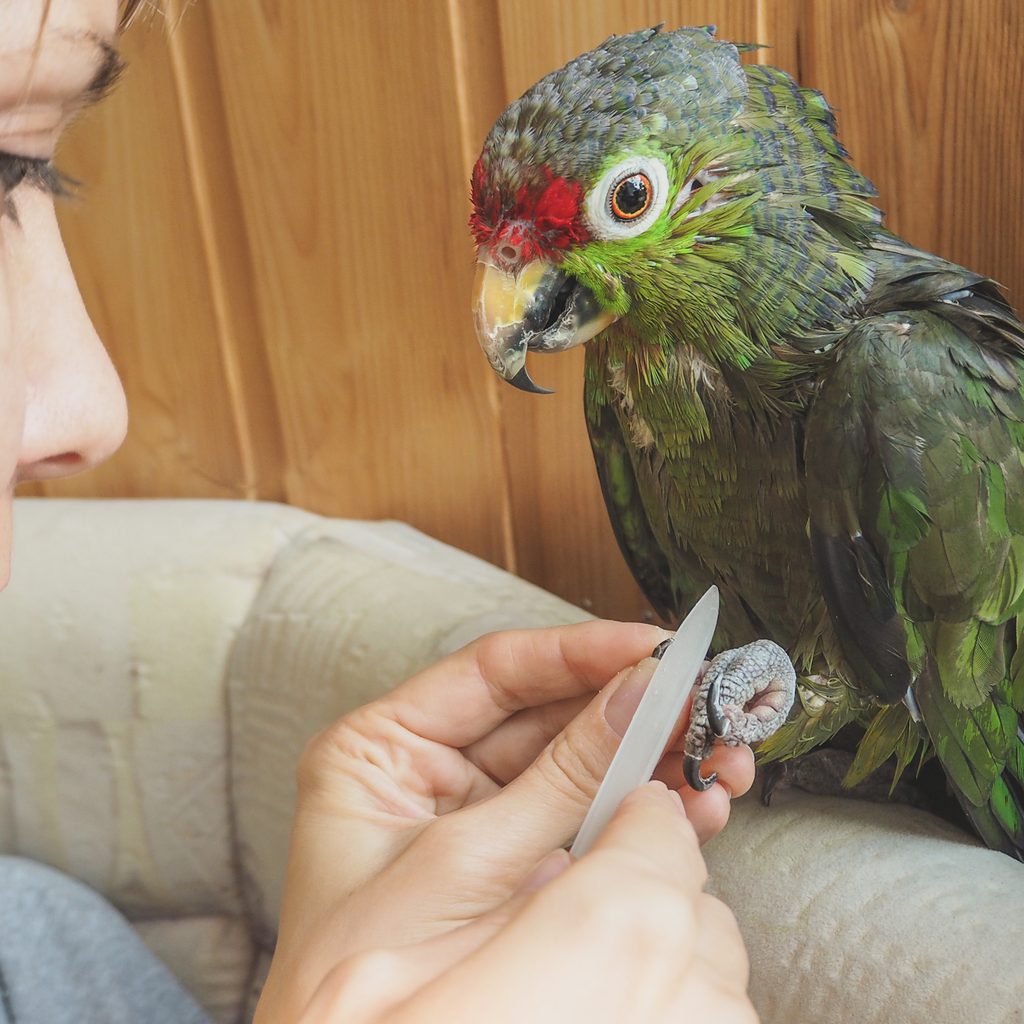
Clip one at a time
Once you have him in position, gently raise up a little toe and begin the trimming process. Here’s where the flashlight comes in. If your bird has light-colored feet, you might see the quick when you shine the light on him (be careful to avoid his sensitive eyes). But darker nails mean it will be next to impossible to find. Remember the expression “cut to the quick”: That’s what you don’t want to do. Even if you do find it, you should always cut a tiny bit at a time to ensure you don’t get anywhere near his blood vessels. Filing can also help keep you far away from the danger zone.
Know when to stop
It happens even to the best of us — you may get a little blood. Stop cutting immediately (even if you’re partway through a nail) and apply pressure to the wound. Gently rub your powder on the area, which will go a long way toward stopping the bleeding. Clean up any blood with your towel and save the rest of his claws for another day. Even if your bird’s a chatterbox, he won’t necessarily communicate that he’s in pain (in the wild, this would lead to his becoming someone’s supper, after all). It’s your job to look really closely for signs of distress.
Shower him with praise
You finish the job successfully and put him back into his cage. It may seem like you were the one who went through the trenches, but your little avian is probably a bit on edge. Reward him with copious treats and head strokes. Remind him what a good boy he is (and maybe sneak a chocolate bar for yourself).
You’ll need to repeat this process about every month or so, and nail growth can vary depending on diet and species, so check them often. If you like to have your birdie ride on your shoulders or perch on your finger, you might increase the bird nail trimming to every two weeks for your own comfort. Avoid the scratchy sandpaper or concrete branches you might see. These can shred his nails or cause sores on his delicate feet, but cuttlebones are okay for most species. Once you’ve done it a few times, both of you will have no trouble with this routine.