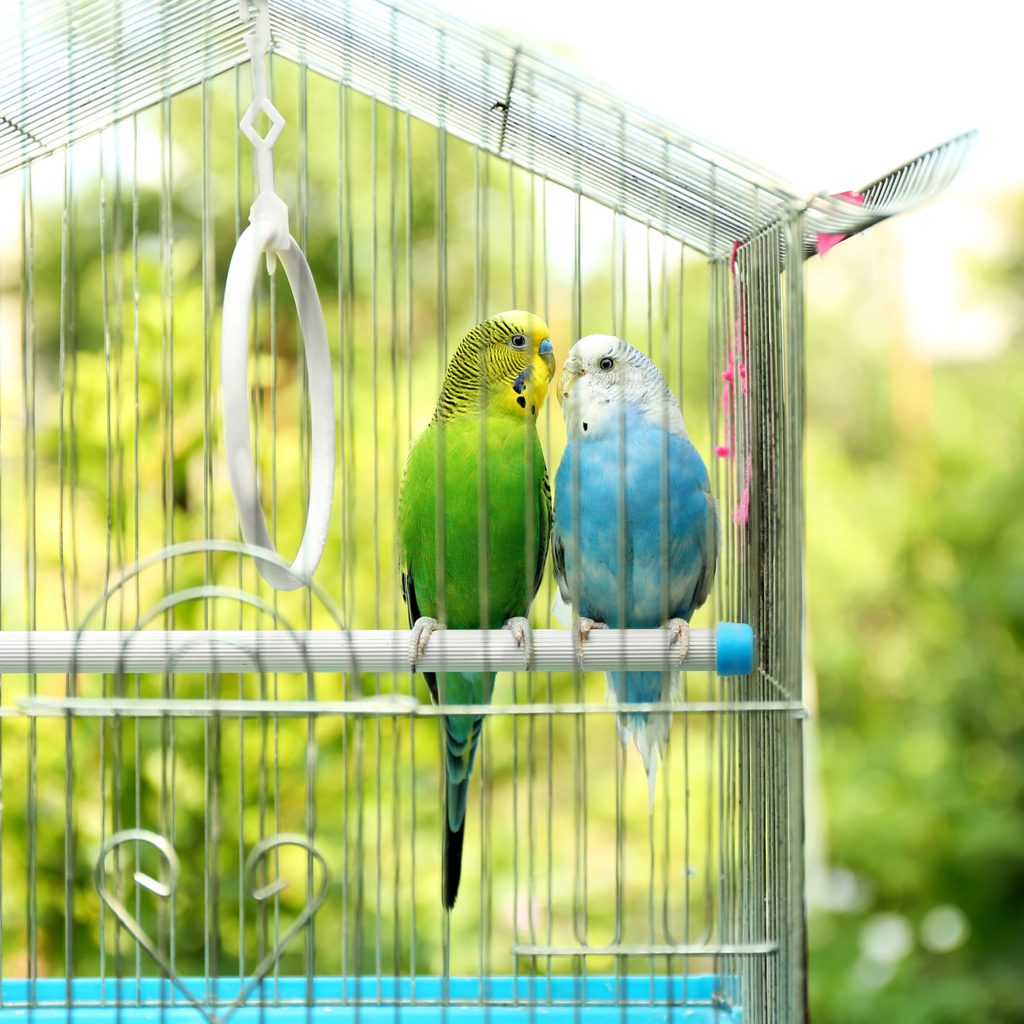
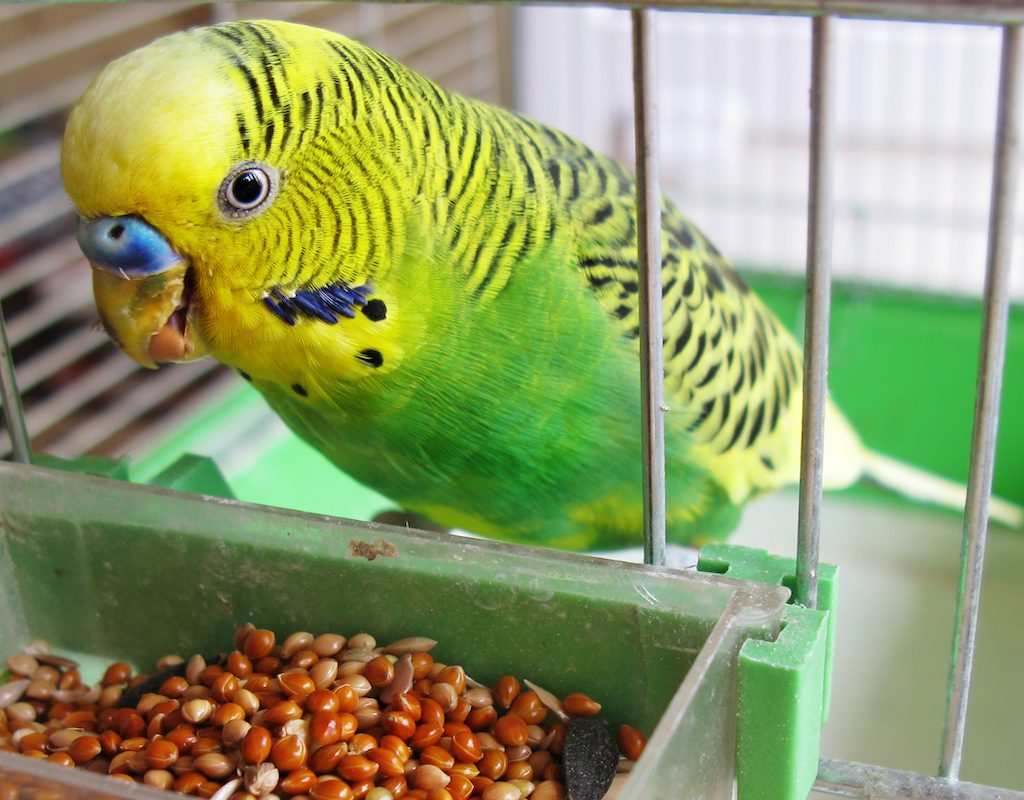
Birds might fall on the lower end of the spectrum in terms of pet commitment, but cleaning your bird’s cage will seem like a big hassle when it comes time. It’s more than just scooping out the poop. Your bird will much prefer to have a scrubbed environment, and this will help him live a healthy life.

How often should a birdcage be cleaned?
We recommend cleaning your bird’s cage every week, but that will vary depending on how big the cage is, how many birds are in there, and what types you have. Monitor your pet’s conditions closely and clean anytime it looks like he needs a refresh. You can take a few steps beforehand to make sanitizing the cage easier. Avoid wood and cloth (unless it’s not hard to remove and washable) and stick with plastic and paper for your bird. Remember, you’ll also need to frequently clean his toys, food and water dishes, perches, and any “furniture” to keep him well. But in a few simple steps, you’ll have him in a sparkly home, as good as new.
Find a safe space for your bird
Before you do any cage cleaning, you’ll want to take your pet out. To deep-clean, you need to break down the cage (if you have a model that separates), spray, scrub, and dry all the pieces of your bird’s home. He’ll certainly want to be elsewhere while you do this, and it’ll keep him safe, especially if you’re using birdcage cleaner. A backup cage or his playroom will make great temporary housing for him. As always, beware of any hazards such as sharp edges, wires, or moving parts like fans if you’re letting him out of the cage.
Replace the liner
You’ll need to experiment to determine what’s best for you when you first get your bird. While there are many liners on the market, newspaper usually does the trick. Be sure to change it frequently — even more often than you do a full clean. The good news: You can buy a cage with a built-in removable tray to replace your bird’s liner or newspaper easily.
Take apart the cage
Some pieces of the cage probably detach to make this process easier. In addition to the tray, you might be able to take apart the top or bottom, allowing better access. As part of this step, pull out all your bird’s things as well, including any feeding dishes.

Scrub the floor, wall, and ceilings
The least fun but most important part: Cleaning a birdcage means scrubbing some amount of his leavings. Even with your paper on the cage floor, you’ll still find some droppings around, including (somehow) on the bars. Perches in particular can be tricky to clean, and some bird owners find it simpler to use fake wood for that reason. Regardless, you’ll have to do some work here. If you choose to use any cleaning products, use only pet-friendly ones and check with your vet to be sure your bird won’t mind. A sponge or scrub brush and some warm, soapy water will go a long way.
Leave it to dry
If your bird’s enjoying his staycation, leaving the cage to dry will usually be fine. Ensure that no rust or mold could develop, and you’ll definitely want to give the cage a quick wipe first. Don’t put it back together or the bird back in until it’s completely dry. A hair dryer will speed up the process for some of the pieces, but don’t get the metal too hot or melt any plastic (try a cool setting to start).
Put it back together
Putting your cage back together somehow always seems trickier than necessary. Spice up the “reveal” for your bird by rearranging his toys or replacing them with new ones. Birds are curious creatures and will enjoy getting to know their space again. Lastly, replace the newspaper or liner and finally reintroduce your bird. Top off cleaning day by cleaning him, too, so he goes in completely refreshed.
Once you’ve had your bird awhile, you’ll get a better sense of how often you need to clean him and his cage. Keeping up with routine maintenance will save work in the long run and will surely keep him happy. While he’s already out and being bathed, you can check on his toes and beak and replace any food that’s ready for a refresh.


