Believe it or not, putting up your bird feeder is only half the undertaking — you have to keep it clean, too. Harmful microbes build quickly in, on, and under your feeder, so it’s a little more than brushing off the top every time you fill it. Instead, you’ll want to put together a simple but essential checklist for regular cleaning — skipping too many weeks could cause too much damage to be worth fixing. We’ll walk you through this process with a few bird feeder cleaning tips that will maintain a good setup for you and your feathered friends.

Use a 10% bleach solution
By nature of being left outside all the time, your bird feeders are getting a gentle bath every so often, but that doesn’t entirely do the trick. Water will wash off some of the grunge but not all the germs and can actually encourage growths, like certain types of fungus. When you need a bit more, make a spray for cleaning the surfaces. Animals and chemicals don’t mix, but if you water down bleach enough, it’ll kill off the bacteria without harming your dinner guests.
Run feeder parts through your dishwasher
Check the box first — this won’t work with any wooden parts or feeders too difficult to disassemble and take inside. But lots of parts will go right in the dishwasher, and this will save you tons of time that might otherwise be spent trying to get into every little corner (more on this later). A good hand wash works just as well, naturally. Choose only extra-mild soaps and dry completely before refilling.

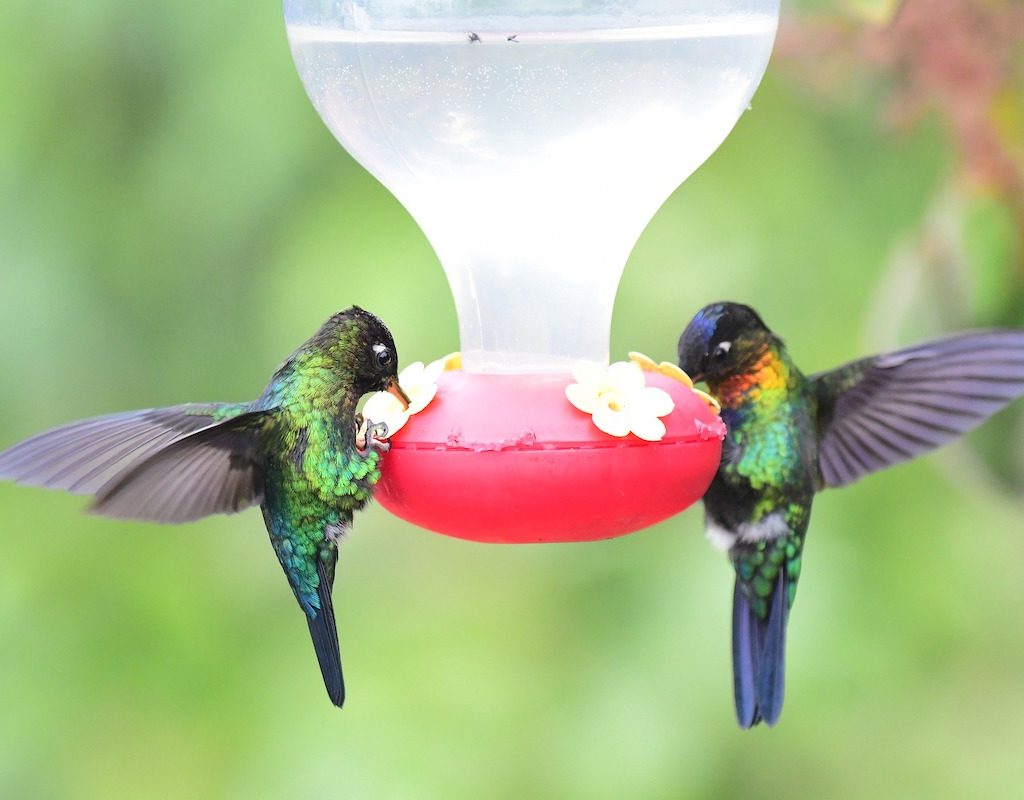
Rotate out hummingbird feeders
Think about getting a backup feeder if you have hummingbirds and putting the new one out while the old one is getting a thorough cleaning. That way, your birds will never show up and get turned away by an empty branch (they often won’t return). This will work with other types that require a full disassembly, like tube feeders, and can ease the whole affair.
Sweep the ground
As the local avians come and go, you’ll see piles of seed litter the ground under their feeder. Some birds, like jays, even do this deliberately, throwing out the things they don’t like while swallowing what they want to eat. Unfortunately, rats and squirrels love the leave behinds, and as the leftovers sit there, more animals notice. Taking a broom to the stack won’t get rid of every seed but will whisk away the temptation. You can also vacuum up seeds and shells with a leaf collector to completely remove all extras.

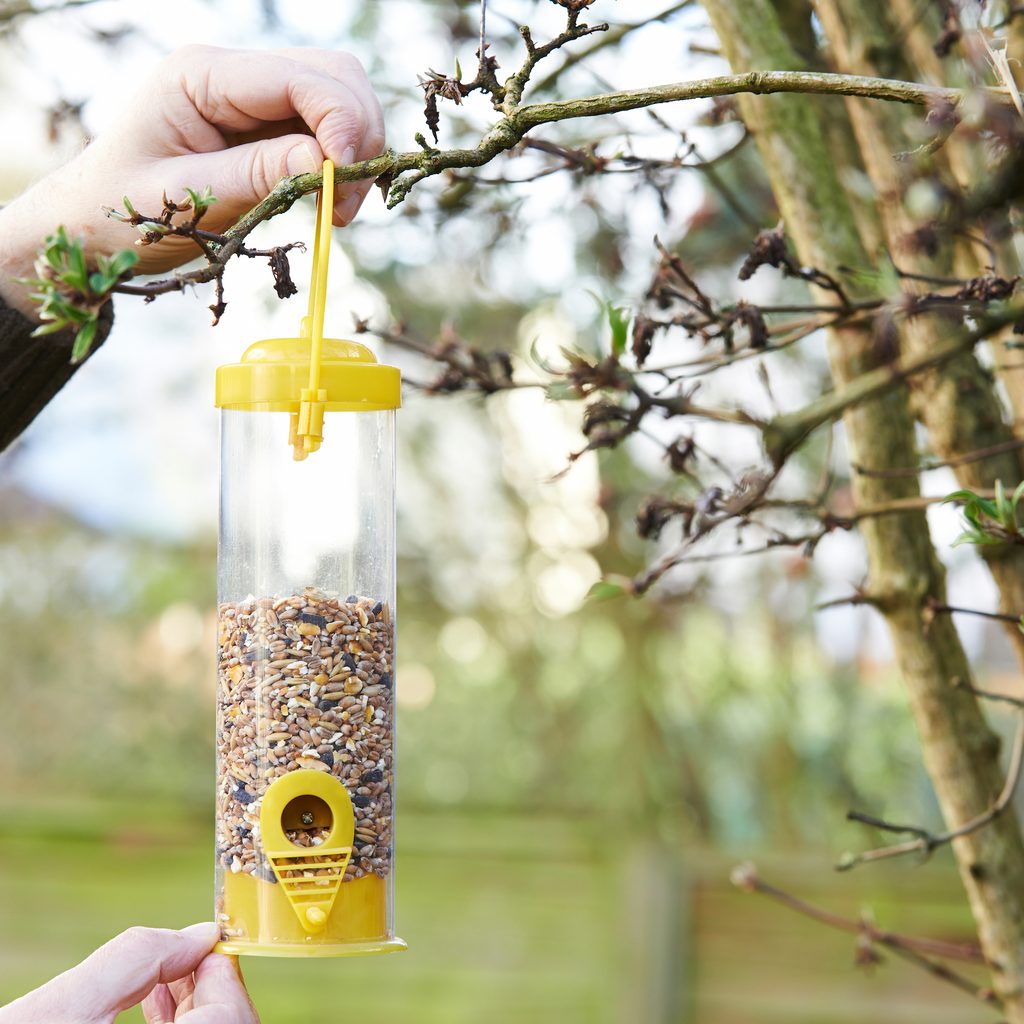
Try a bottle brush
Many feeders include difficult-to-reach areas that defy all attempts at cleaning. That doesn’t mean you should just let them be. A bottle brush will go down tubes or into corners that otherwise might go unscrubbed. Combine this with your cleaning solution, and you’ll have this chore done in no time.
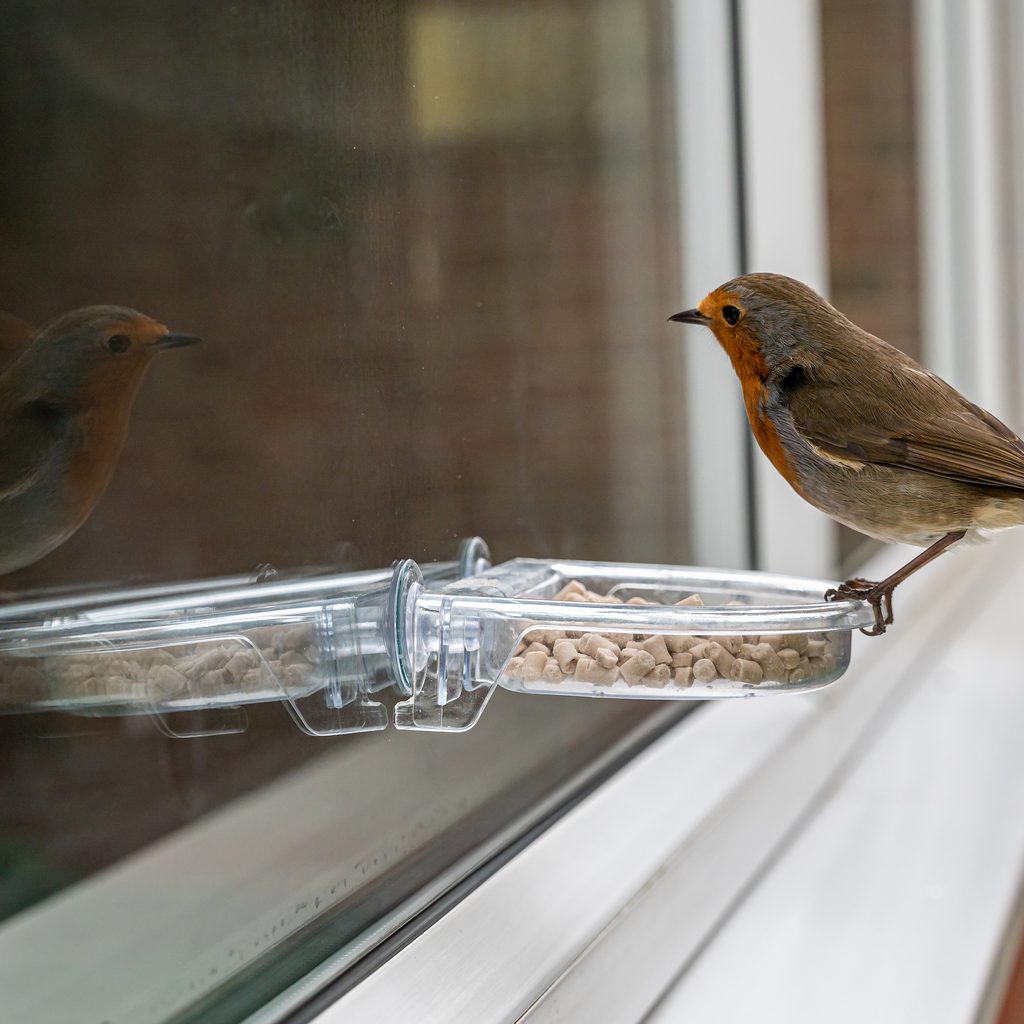
Get an easy-to-reach window feeder
Just a heads-up: The second you attach your window feeder, it will look dirty (we’re pretty sure this is a law of the universe). Sadly, birders specifically put these in easy-to-see areas so as to admire the visitors, which means the grime piles up right at eye level. Don’t let that deter you from getting one but do have a plan in place. If you have an easy-access window that will allow for more frequent cleaning, choose that spot. It makes hosting a feeder much more enjoyable, especially when errant dung inevitably winds up stuck in plain view.

Hose it off
We already covered water a bit, but you can take more intentional action here as well. If you have an extra-sturdy wooden or metal feeder, crank that hose up to full blast and get all the gunk off that way. In addition to removing waste, you’ll get rid of some of the excess seeds or shells and can use this method to help avoid ground accumulation.
Keep washing in winter
We don’t see as much of the unpleasantness in winter; even the leftover seeds oftentimes disappear into the snow. That doesn’t means all the bad microorganisms have died off, though. It’s important to keep up with the cleaning throughout the year, even during the cold months and bad weather. Be extra mindful if the temperatures drop below freezing since plastic will crack if it gets wet. Make sure your feeders have dried and cooled completely (they don’t do well with drastic changes in temp, either) before refilling.
Once you get into a backyard bird routine, you’ll have this all down to an exact science. Whenever you go to top off the feeder, you can bring the necessary accouterment and give the feeder a good wipe down in the process. You should get a pretty good idea how often it needs a refresh just by looking, but don’t go more than a week without giving any feeder a once-over. Plan your spots carefully when setting up your feeders, too — they all need to be in reachable areas, even if you have a brush or bottle in hand. If the birds could say thank you for your work, they would.


