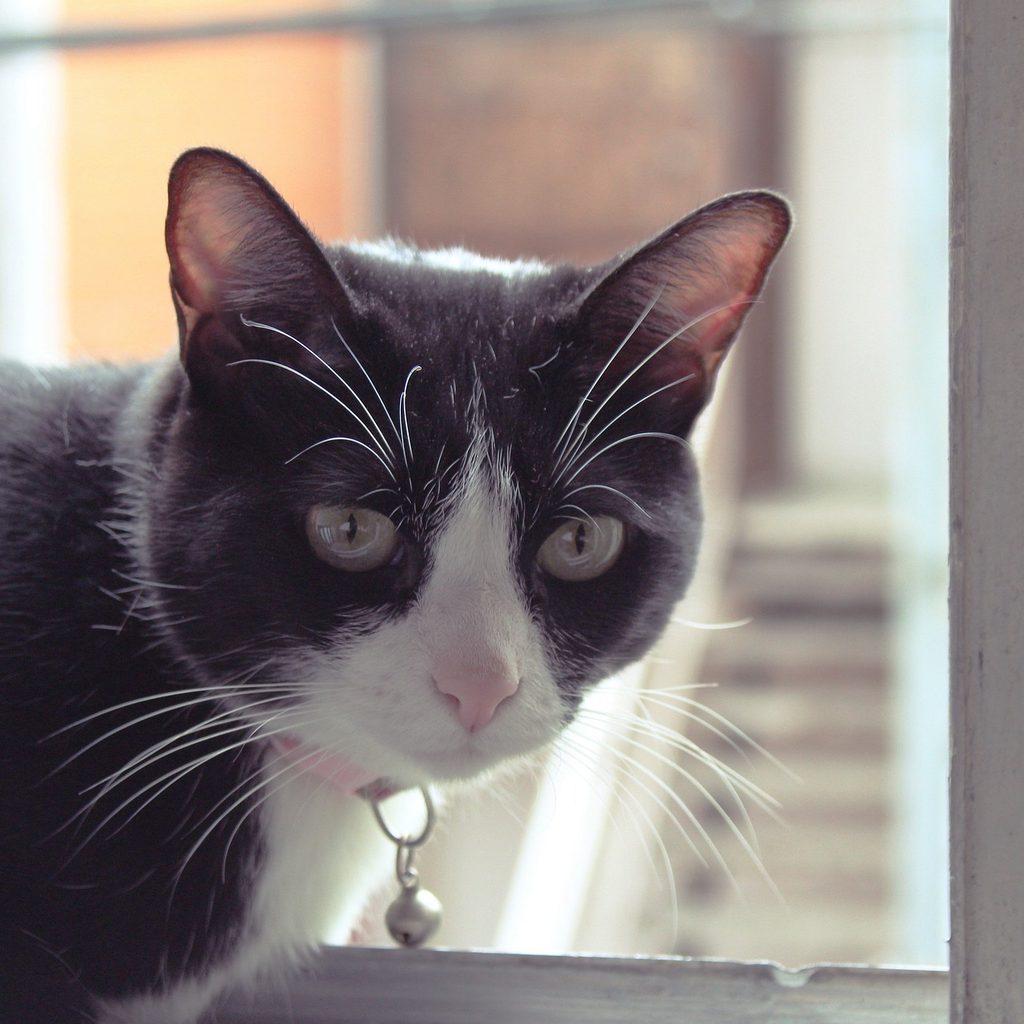
If your cat needs a new collar, you don’t necessarily have to head to the local pet store for it. In fact, DIY cat collars aren’t just convenient; they’re also fun to make and let you put your creative touch on your kitty’s wardrobe. When you learn to make your own cat collars, the options are unlimited. Choose from a wide array of fabrics and colors and try out festive holiday-themed patterns. Decorate the collars with extra bling and bow ties to help your cat’s purr-sonal style stand out. The following steps will teach you how to make a cat collar, even if you don’t have a sewing machine or aren’t the best sewer. There are only a few stitches involved, we promise.

What you’ll need
You’ll want to have all the following supplies ready so you can make the collar in one sitting:
- Fabric measuring 15 inches by 1½ inches
- Fabric scissors
- Iron
- Stitch Witchery fusible bonding measuring 15 inches by 5/8 inches
- Fabric pins (optional)
- Damp cloth
- Cat collar accessories, including a breakaway buckle, size adjustment, and leash attachment
- Needle and thread
You can find most of these supplies at your local arts and crafts or sewing supply store. You might have to special-order the collar accessories online.
Choose and cut your fabric
Select a fabric that will look great against your cat’s coat. Bright material will stand out, which can be helpful if your cat ever loses the collar. Alternatively, consider making themed collars for holidays and special occasions.
Once you’ve picked your fabric, start by cutting it so that it measures 15 inches by 1½ inches. This will make a collar that can be adjusted to fit most cats.
Fold your fabric
Place your fabric upside down on the table so the nonprint side is facing you. Fold each edge, lengthwise, into the middle. Then, fold the entire piece in half lengthwise. Iron the fabric to crease these folds.
Add your Stitch Witchery
Cut a piece of Stitch Witchery so that it measures 15 inches long.
Next, put the Stitch Witchery inside the collar so that it makes contact with the open sides of the folds when you fold them down. The idea here is that the Stitch Witchery will hold those folds closed instead of your having to sew the entire collar. This can take a little maneuvering, so you might want to insert some fabric pins to hold the whole thing in place.
Iron your collar closed
With the Stitch Witchery in place, you’ll need to iron the entire collar to seal it. It’s best to do this in small sections.
Starting at one end of the collar, put the damp cloth over the collar and steam-press the section for approximately 10 seconds. Check to make sure that the fabric has been sealed closed. Your iron will need to be on a higher setting to accomplish this, but gradually work your way up in the settings so that you don’t burn the fabric.
Once one section is sealed, repeat the process with the remaining sections of the collar.

Add the hardware
Start by threading the collar through one end of the buckle. Hand-sew two lines behind the buckle to secure it to the collar, then trim off any excess fabric.
Next, you’ll need to thread the opposite end of the collar through the adjustment piece, through the end of the other buckle, and then back into the adjustment piece. You’ll then repeat the sewing process, sewing together the last bit of collar that you threaded through the underside of the adjustment piece. Make sure that you sew that piece onto the bottom/inner loop of the collar that will be closest to your cat’s neck. If you sew it to the outer loop, you won’t be able to adjust the collar’s size.
You can add a collar loop simply by pushing it over one of the buckle pieces and onto the collar.
When adding your hardware, pay attention to the curve of the hardware. Most pieces are designed to curve inward for your cat’s comfort, so it’s important to attach them correctly.
Before sewing any of the hardware pieces into place, align everything and pin it in position. This will let you visually confirm that the collar is constructed correctly before you do any sewing.
Accessorize
If you’d like, you can add decorations and accessories to the collar. Consider adding a bow, a little glitter, or even some gems with adhesive backs for an extra-special touch.
Making your own cat collars can be a fun activity, and it ensures that you’ll always have an extra collar around in case your cat loses his. When designing your collars, make sure they fit your cat appropriately. You should be able to fit two fingers between his collar and his neck. It’s also important to be sure that you’re buying buckles with a safety release, just in case your cat ever gets caught up on something. Don’t be afraid to experiment with different designs and fabrics and to customize the width so that it’s just right for your cat. With his custom-made collars, your kitty will be stylish, fashionable, and safe, too.


