It’s not always a pleasant experience, but trimming your cat’s nails is an essential element of caring for your furry friend. There are a ton of benefits to cutting down those claws — both for you and for your kitty. For example, trims help prevent nails from curling inward and digging into your cat’s sensitive paw pads and prevent them from getting snagged on items.
A good shorten can also, admittedly, help protect your furniture, rugs, and clothes, too. We’re going to walk through how to trim cat nails in a safe and effective way, and we’ll offer you some quick do’s and don’ts while we’re at it. With our tips, you can make the process easier, safer, and less stressful for both you and your cat. Soon, you’ll be able to trim your cat’s nails like a pro.
Is it necessary to trim a cat’s claws?

Some trepidatious owners may balk at the idea of cutting a mouser’s nails, especially if you have a scratcher in the house. Unfortunately, it is a necessity since you’ll likely be breaking out the clippers every month or so, much more frequently than your animal will go to the vet.
If you try repeatedly and find that grooming your cat’s paws stays beyond your grasp, consider hiring a professional or taking your pet to a local store for mani/pedi. Remember that while scratching posts do great things for your kitty’s mind and energy level, they don’t actually trim the nails down at all and will not replace your nail filing routine.
Let’s start with the basics of how to trim cat nails

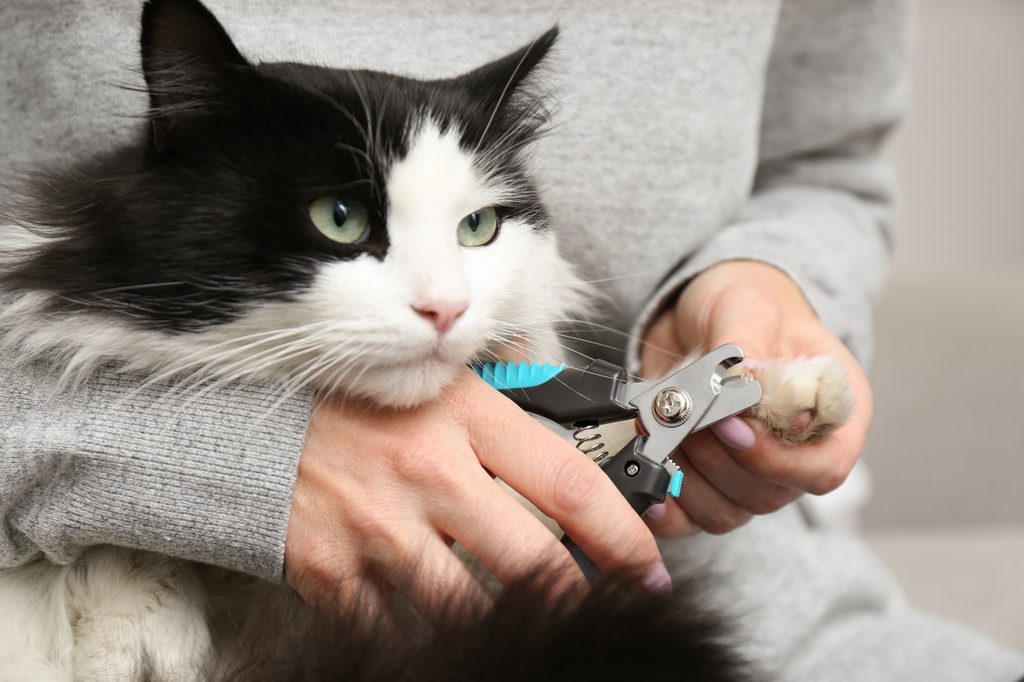
- When trimming your cat’s nails, it’s easiest to sit your cat so that he’s right in front of you, facing away. Some cats may sit there willingly, but others may need to be gently restrained with a towel or blanket.
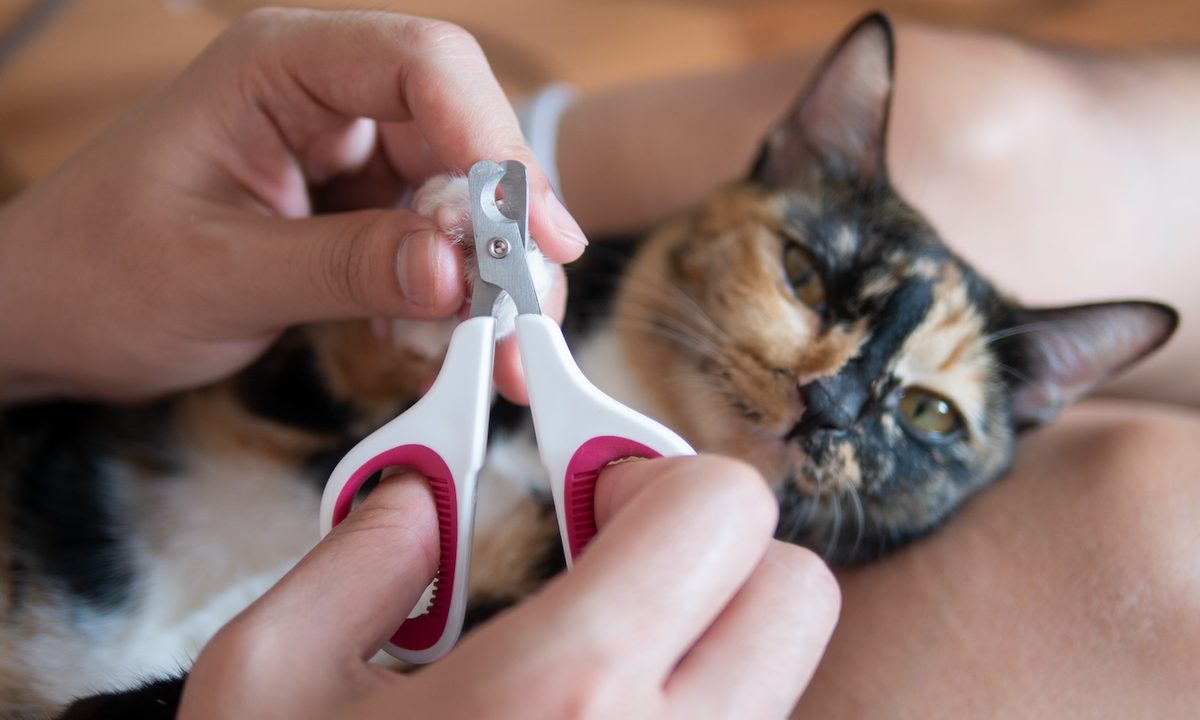
- Hold your nail clippers in your dominant hand, and with your other hand, lift up one of your cat’s paws. It’s easiest to start with the front paws.
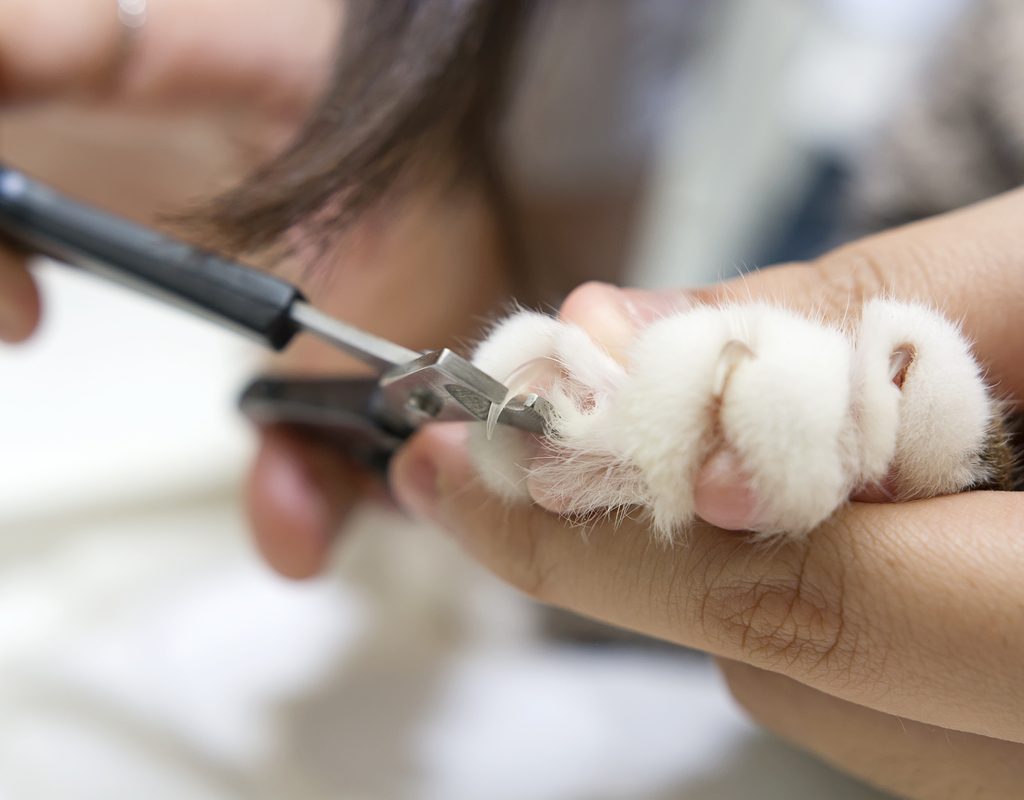
- Gently squeeze your cat’s paw pad and the top of his paw with your thumb and the edge of your pointer finger. This will extend your cat’s claws.
- Look at each nail. You’ll see a lighter, white outer tip, and then a darker section that begins a little bit further up the nail. That darker section is called the “quick.” It’s sensitive and will bleed if you trim it. Make sure to trim only the nail, avoiding the quick.
- Position your clippers around the tip of the nail and close them with a quick, strong motion. In most cases, the faster you clip, the cleaner the cut will be. Again, make sure that you avoid the quick. If you’re unsure of how much to take off, always err on the side of caution and take off less.
- Repeat this process with each nail on each paw. Your cat may need some breaks, or you might need to trim just a nail or two during each session.
The “do’s” when trimming cat nails

- Do introduce nail trims when your cat is young. To make nail trims easier, introduce them ideally when he’s a kitten. You can get your cat used to having his paws handled by touching them briefly, then gradually increasing the amount of time you handle his paws. This will help him learn to accept nail trims and make the process less stressful.
- Do carefully time your trims. It’s best to play with your cat, tire him out, and then time the trims for when he’s relaxed and quiet. Don’t attempt a trim before your cat has breakfast or when he’s energized and playful. A happy, relaxed cat will probably be more willing to cooperate than a cat who’s full of energy.
- Do watch your cat’s reactions during the trim. He may need to take a break, and giving him a break can make it easier for him to cooperate.
- Do properly restrain your kitty. For your cat’s safety, you can wrap him up in a towel or blanket like a burrito, removing just the one paw that you need at a time. You may find it easier to enlist another human helper to help position and hold your cat.
- Do find the right tool. The right cat nail clippers can make the trimming process easier and safer. Look for sharp clippers that are appropriately sized for your cat’s nails. The clippers need to fit securely in your hand, and should be able to be operated with one hand only. Clippers with textured grips can create a more secure feel, which can help build your confidence as you’re learning to do these nail trims.
- Do reward your kitty. Focus on making each nail trim a positive experience for your cat. Reward your cat for a job well done with cat treats, praise, pats, and playtime.
The “don’ts” of trimming your kitty’s nails

- Don’t pull his paw out too far. This makes your cat instinctively pull it back in, which can be a losing battle. Instead, keep his paw as close to his side as possible while you trim.
- Don’t rush: Trimming your cat’s nails can take time and patience. Don’t rush the process or force your cat to comply.
- Don’t trim all nails at once: Trimming all nails at once can be overwhelming for your cat. Start with one nail at a time and take breaks if needed.
- Don’t punish your cat: Avoid punishing your cat for not cooperating during the trimming process. This can cause fear and anxiety and make future trimmings even more difficult.
- Don’t let him win the fight. If you sit down to trim his nails, get at least one or two nails done before giving in to his resistance. If he fights you and no trimming ends up happening, he has learned that he can do the same thing next time.
Learning to give your cat a nail trim requires some patience and practice. If you’ve never done a nail trim before, you can ask your vet to guide you through the process during your next appointment. They can give you some additional tips that are specific to your cat, and they can help you find the quick in your cat’s nails so you can be sure to avoid it. Before long, you and your cat will be more accustomed to nail trims, and the process should be smoother and easier for you both.


